Navigator Station
| This section is in need of revision. Please help improve it or discuss these issues on the talk page. The reason given is: Images needed |
| Navigator Station |
|---|
| File:Navigator Station.png |
| Information |
|
Introduction
The navigator station assists in finding your way among the stars. The navigator station displays cartographic information about the planets, moons, and stars in a solar system. The navigator station also displays cartographic information about nearby solar systems and the sectors that contain them.
Controls are activated by clicking on the console using the hand cursor. Controls also have corresponding keyboard equivalents. Help about using the hand cursor and a table showing the key commands for this station can be found on the Keyboard and Mouse Controls page.
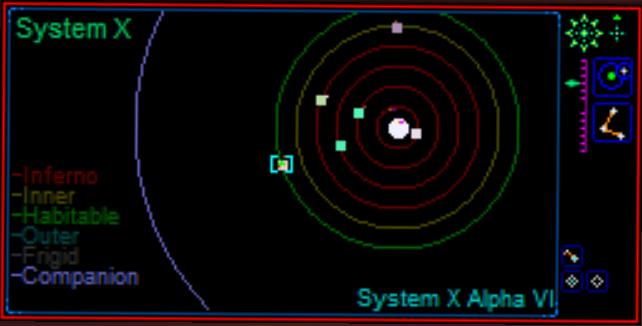
The navigator display screen operates in two distinct magnification modes. At high magnification levels, the display shows the contents of a solar system. At low magnification levels, the display shows the contents of sectors. The magnification level is controlled using a purple graph at the right of the display. The top six increments of the graph are solar system magnifications. The lower six increments on the graph are sector magnifications.
Solar System Magnification
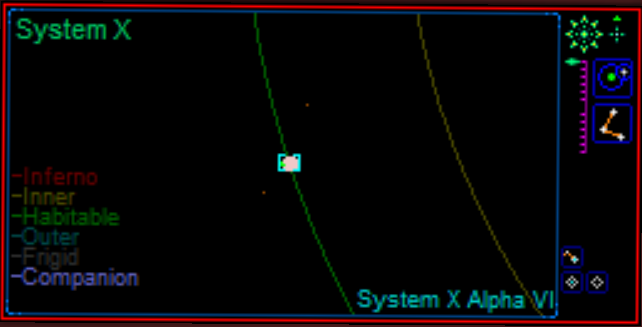
At solar system magnifications, the display panel shows a top down view of a solar system. The name of the current solar system is shown at the top left of the display in bright green letters.
- The display can be panned using the rosette of green buttons at the top right corner. The center green button returns the pan to center on the solar system.
- The display will center on your spacecraft when the small green triangle button at the top right corner is pressed.
- Click on an object in the display to select it. The name of the selected object appears at the bottom right of the display in bright blue letters.
- The display will center on the selected object when the green cross button below the green triangle button is pressed.
- The orbit rings of planets and companion stars are turned on and off using a button at the upper right.
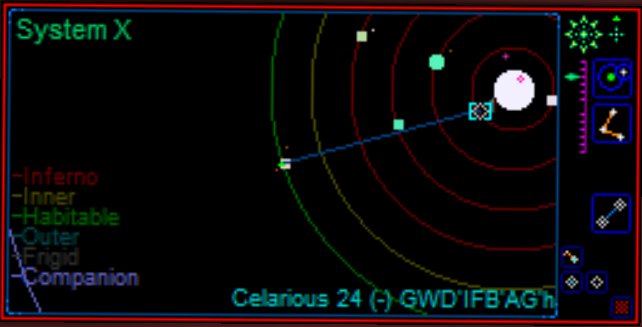
Wormholes are shown in the image above, near the primary star. Wormholes are always near the primary star. They never orbit secondary or tertiary stars. Wormholes will show a bright dot in the center when they have been explored by a player.
The above example shows a waypoint set at a wormhole. Courses and waypoints are discussed below.
Sector Magnification
At sector magnification, the display shows a three dimensional perspective view of a sector and the solar systems it contains. The display can be rotated using the rosette of green buttons at the top right corner. The center green button returns the rotation to top view. The display will center on your spacecraft when the small green triangle button at the top right corner is pressed. This will change the current solar system back to the one containing your ship if it is not the current system.
Explored wormholes may also be displayed at sector magnification. A button at the right turns this feature on and off.
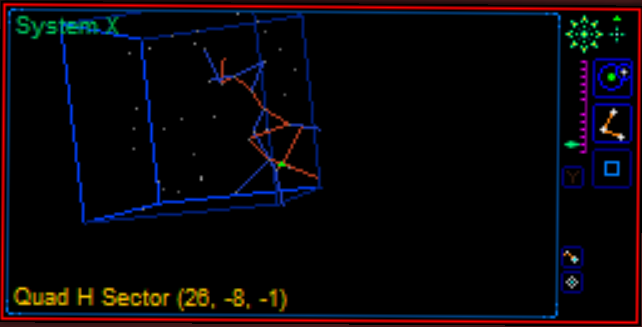
Sectors are cubic sections of space. The display default shows the sector containing the spacecraft. A button at the right enables the neighboring sectors to be displayed as well. This is essential for navigating between sectors.
The name of the current sector is shown at the bottom left of the display in bright gold letters.
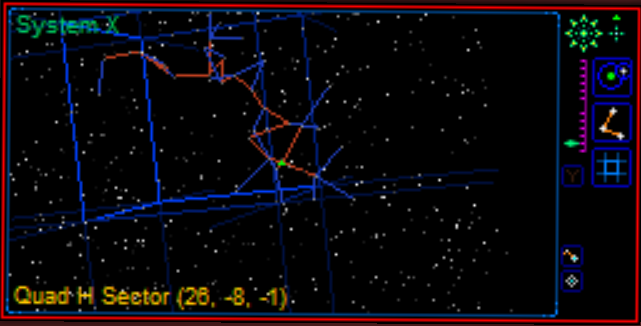
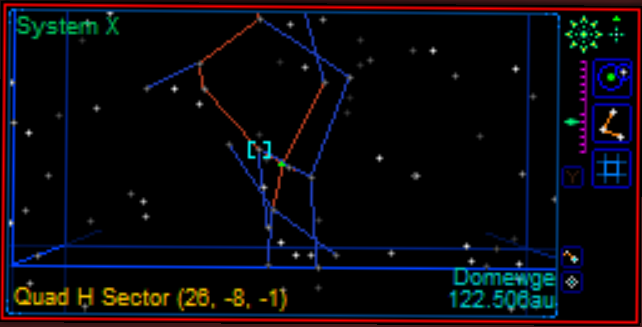
Click on a solar system in the display to select it. When a solar system is selected, its name and distance from the current system are displayed in bright blue at the lower left. In the example below, the selected system Theridiidae is 3.153 parsecs away.
The display will center on the selected solar system when the green cross button at the upper right is pressed. The magnification controls can then be used to view information about the centered solar system. This has limitations. A solar system that has never been explored by your empire cannot be displayed. Sometimes the server you are communicating with does not have more information about the selected system and the information cannot be displayed.
Courses and Waypoints
The navigation console is used to plot courses to other planets and solar systems. The course of the ship is defined by a set of waypoints. Controls for managing the waypoints of the ship's course are present in both solar system and sector magnifications. Course controls appear as small square buttons at the bottom right of the display.
Course lines and waypoint blips can be turned on and off using a button at the right of the display. There are several declutter options.
